
© Local AU Warehouse-Fast Shipping Within 3-7 Bussiness Days
© One Year Hassle-Free Warranty & 14-Day Return Service
© 100% Secure Checkout & Lifetime Customer Support
 Creality Australia Ender 3 S1 Pro 3D Printer :
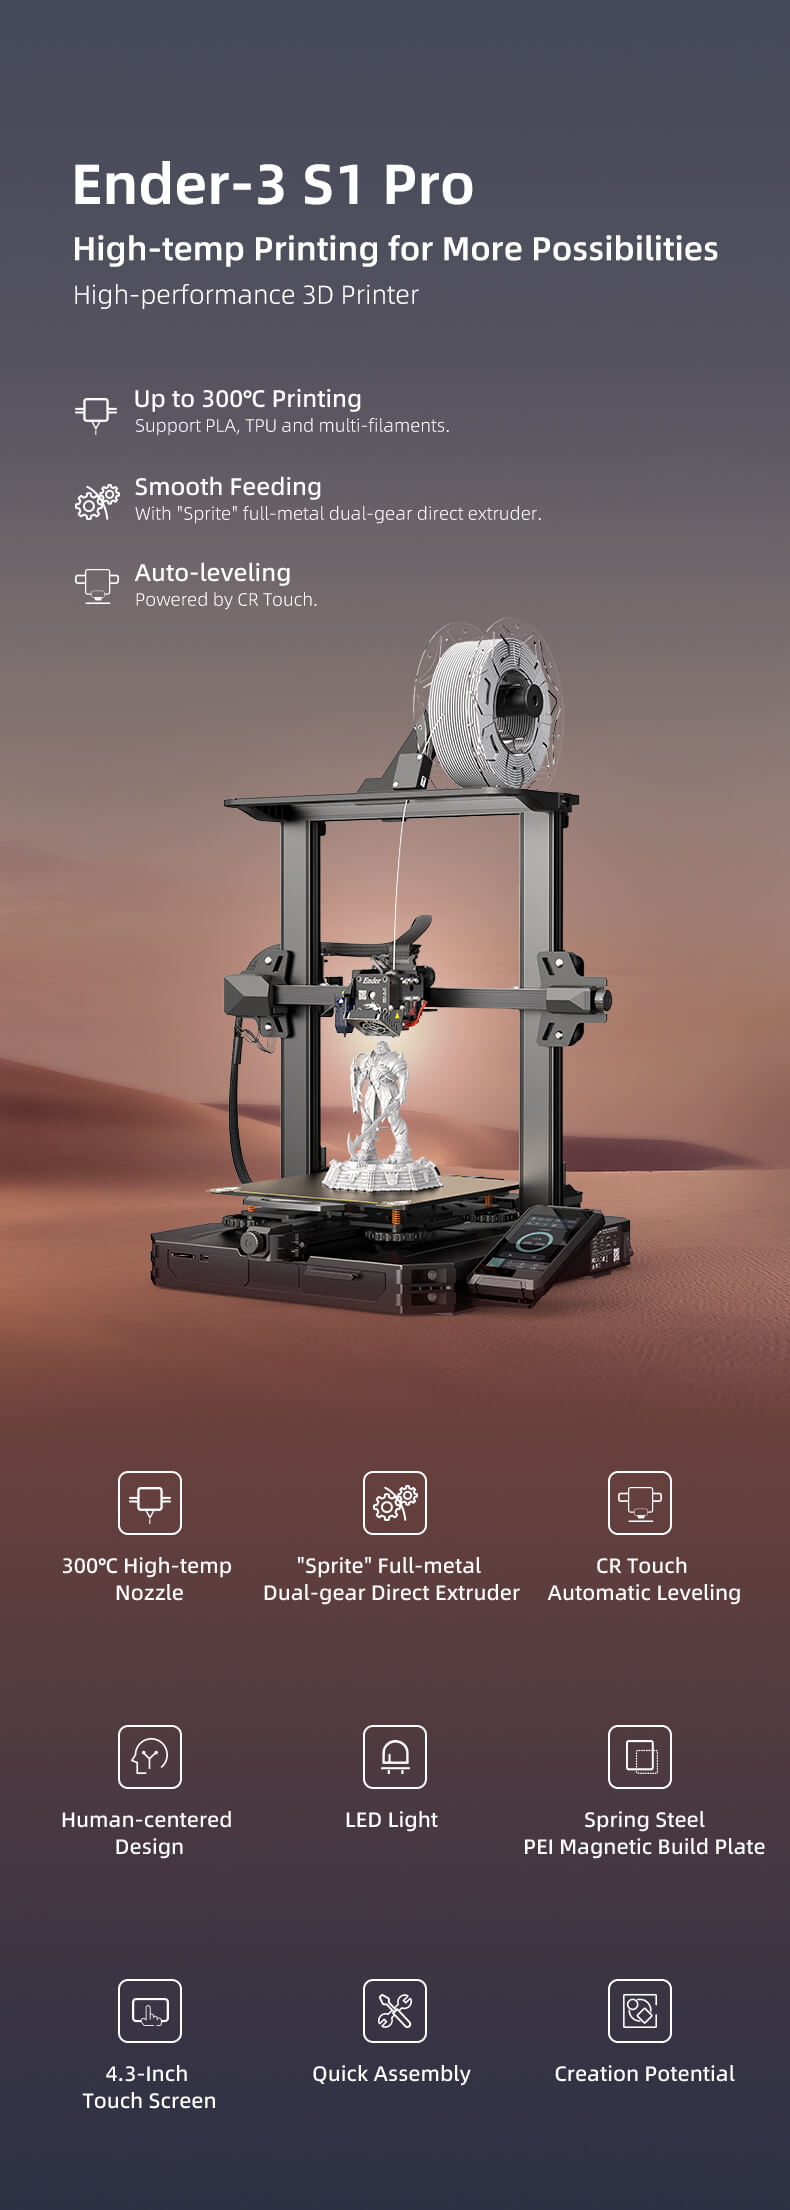
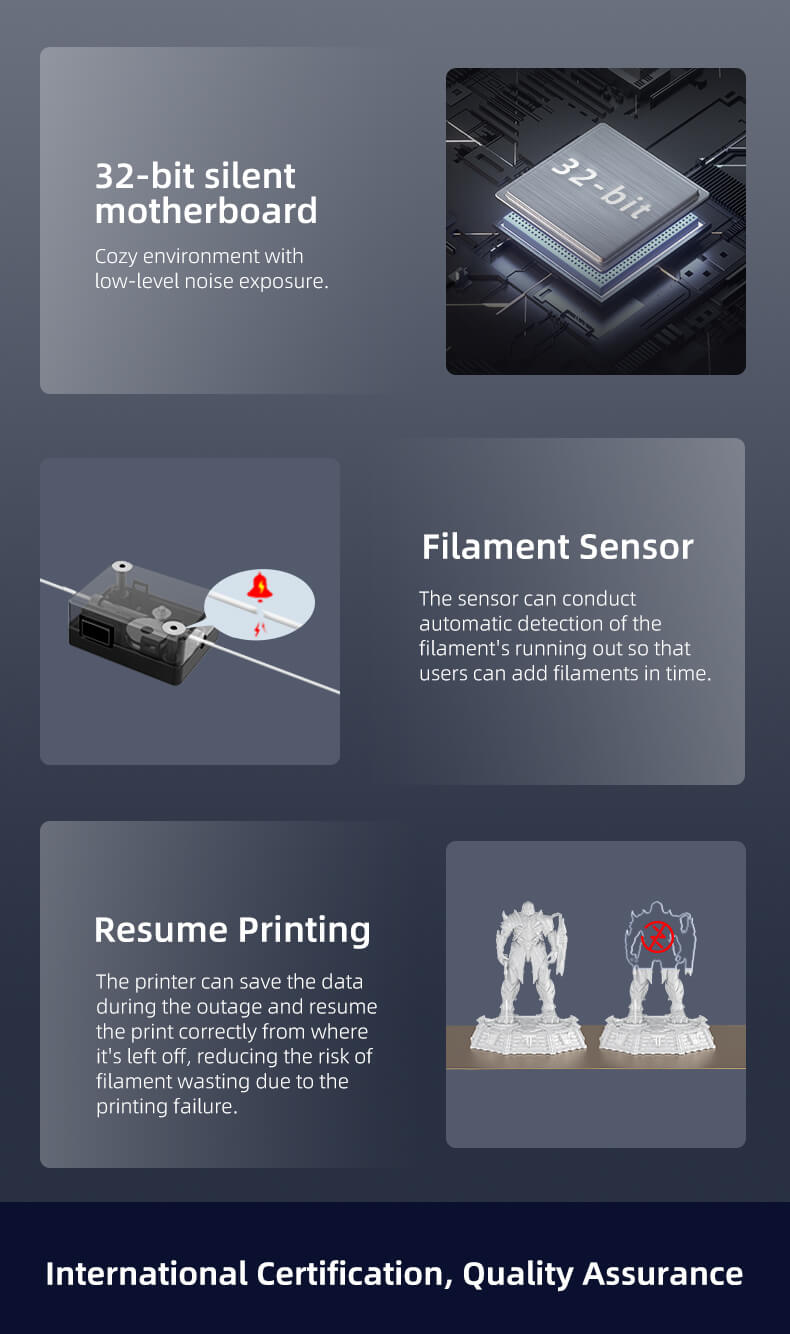
A new and improved version of the very successful Ender 3. Equipped with a newly developed direct dual-gear extruder, automatic bed leveling, 32-bit silent mainboard, among other things, the S1-Pro is a very affordable printer with everything you could wish for at this price point.
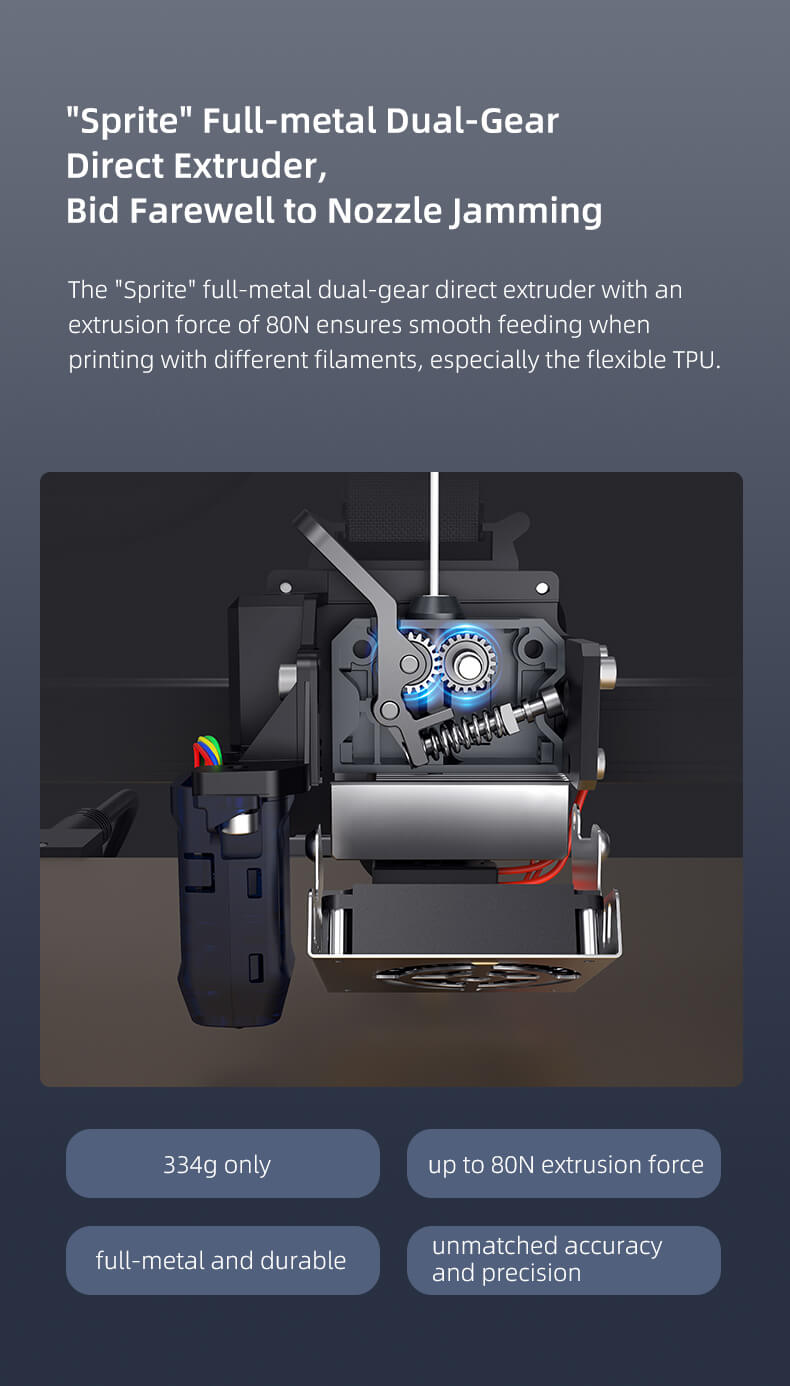
Sprite Full-Metal Direct Drive Extruder with dual gear
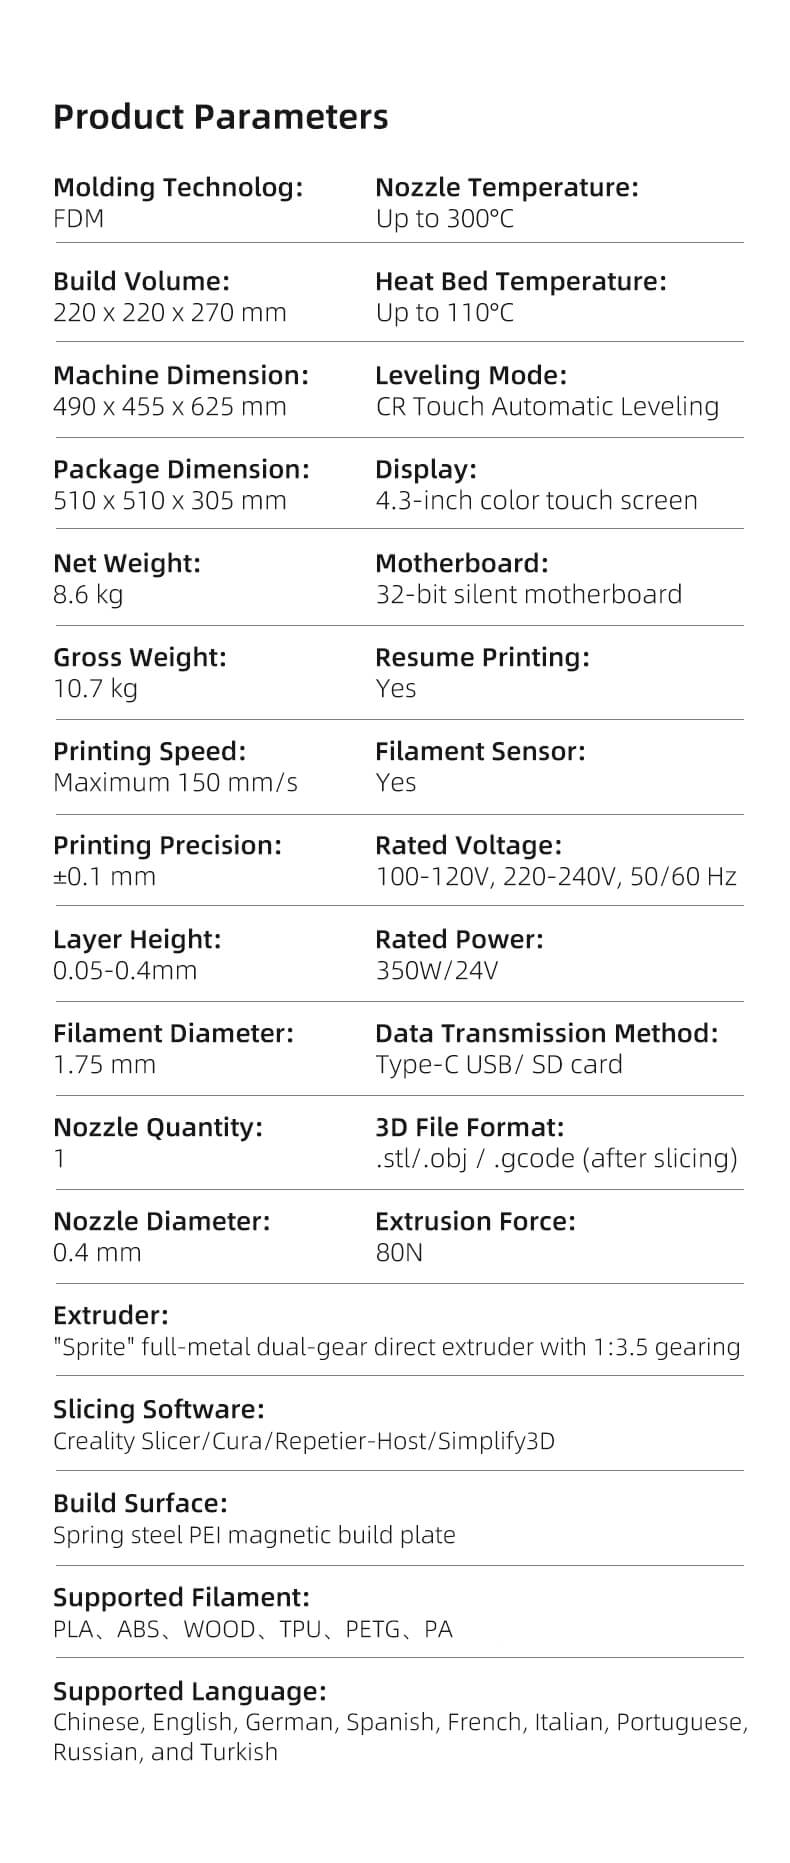
Ender 3 s1 and Ender 3 S1 Pro use direct-drive extruders. The distance is shorter in a direct drive and the retraction too. Ender-3 S1 Pro upgrade to full-metal dual-gear direct extruder with an extrusion force of 80N ensures smooth feeding when printing with different filaments. especially the flexible TPU.
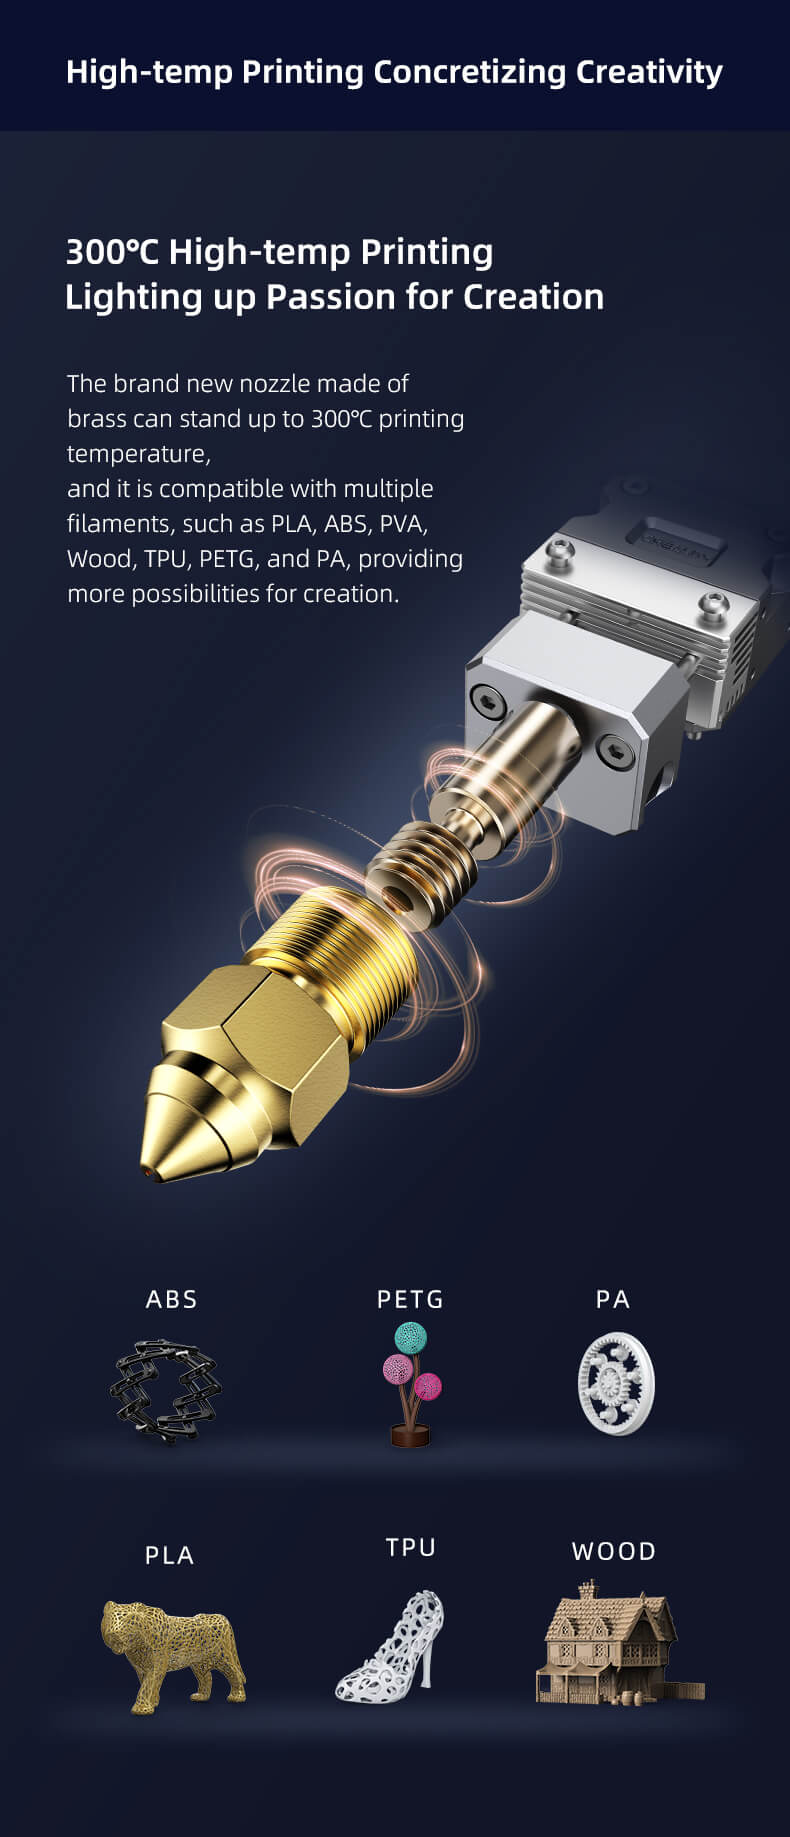
Up to 300℃ high-temp printing support multiple filaments.
It's compatible with multiple filaments, such as PLA, ABS, PVA, Wood, TPU, PETG, and PA, providing more possibilities for creation.
Spring Steel PEI Magnetic Build Plate
It can handle high temperatures a lot better than the one used in Ender 3 S1. You can easly remove it if you want since it gets attached to magnetics well. It is compatible with ASA, TPU, PLA, Wood, PETG, PAHT, SILK as well as other types of filaments. It removes all the small issues you have while printing. It trully takes no effort to take out the print -when printing is over, you simply bend the base and the model detaches itself from it.
4.3-Inch Touch Screen & LED Light
The 4.3-inch touch screen, supporting 9 languages, offers efficient UI interaction and is easy to use. It will dim out automatically for energy-saving if there is no action for 3 minutes. The equipped LED light enables comprehensive light fill, with which users can observe the printing details even in a dark environment.
Creality Ender 3 S1 PRO Review
Ender 3 S1 & Ender 3 S1 Pro in comparison
|
|
Ender 3 S1 |
Ender 3 S1 Pro |
| Build volume | 220x220x270mm | 220x220x270mm |
| Printer size | 487x453x622mm | 490x455x625mm |
| Extruder | Sprite Direct Drive Dual Gear | Sprite Direct Drive Dual Gear |
| Max. nozzle temperature | 260ºC | 300ºC |
| Max. heatbed temperature | 100ºC | 110ºC |
| Weight | 9.1kg | 8.6kg |
| Interfaces | USB-C / SD | USB-C / SD |
| Filament sensor | Yes | Yes |
| Dual Z-axis | Yes | Yes |
| Automatic levelling | Yes | Yes |
| Motherboard | Silent motherboard, 32-bit | Silent motherboard, 32-bit |
| Screen | 4.3 inch screen with button | 4.3 inch touch screen |
| UI language | Chinese, English | Chinese, English, German, Spanish, French, Italian, Portuguese, Russian, Turkish |
SPECIFICATIONS


FAQ
Q: How long does the printer assembly take?
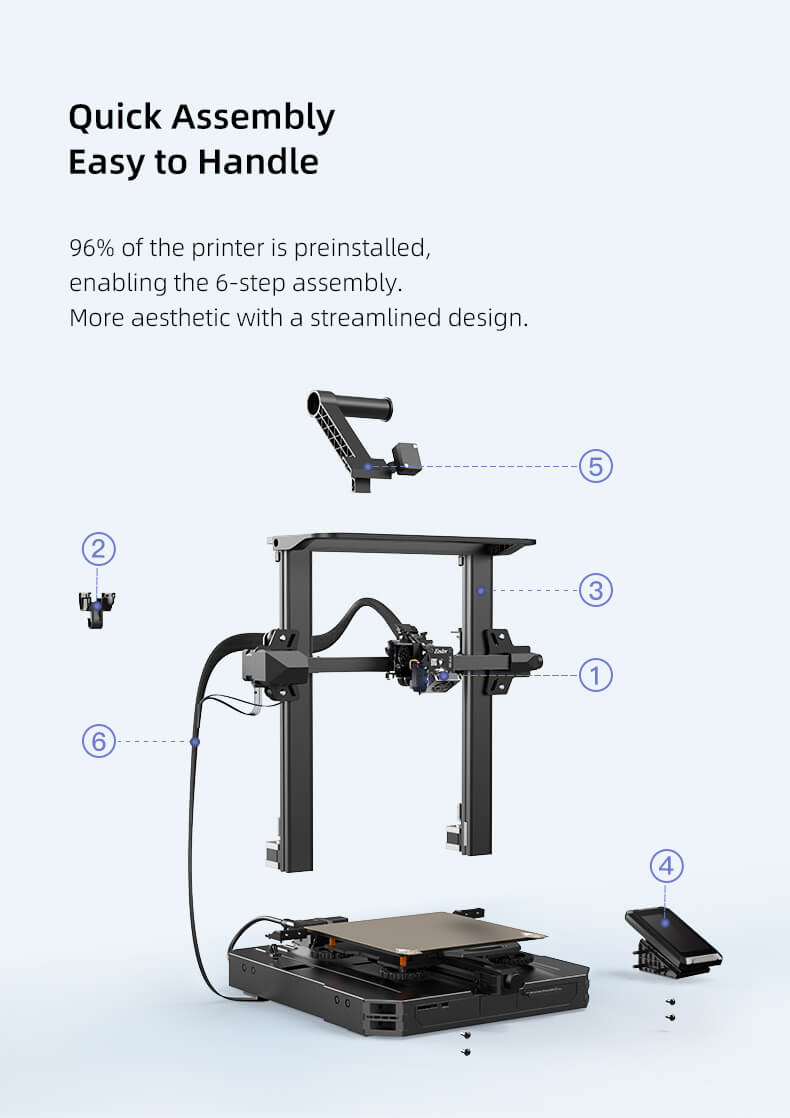
Ender-3 s1 pro is 96% pre-assembled.
Generally, the printer can be assembled in 5-20 minutes.
Q: Where should the consumables rack be fixed?
The consumables rack is fixed to the top of the gantry. It is placed vertically on top and secured with screws.
Q: What if the nozzle kit still loose even if I finished the assembly?
Please tighten the eccentric nut on the back plate of the nozzle kit. After commissioning you can test by sliding it from side to side. Tight is stuck, loose is shaky
Q: Can I use 110V?
Two voltage steps, 115V and 230V, are available for adjustment on the printer power supply.
Current frequency: 50/60Hz with 24V DC output
Please adjust the printer power supply voltage to a suitable local voltage before using the printer
Q: Why the card has no response?
1. Please format the memory card to FAT32 format
2. Please check if the card slot is loose
3. Please wipe the card slot with a cotton swab dipped in alcohol to clean up the oxidation traces
4. Please replace the SD card slot
Q: S1 or s1 pro.which is better ? Is this a s1 pro or a modified s1?
The difference between the S1 and S1 pro is the pro has an all metal hot end that can go to 300c and a magnetic bed spring steel bed and a touch screen.It would cost about the same to upgrade it myself if in a Ender-3S1. In terms of machine installation or printing operations, the difficulty of them are similar. Direct Extruder is compatible with more 3D Printing materials. If you are considering printing high temperature products, you can choose Pro.
Download
| HWv24S1_301_SWV2.0.8.24F4_F401_FDM_LASER | Download |
| S1-Pro_User Manual | Download |
| Ender-3S1 Pro-all version firmware | Download |


