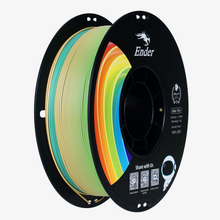
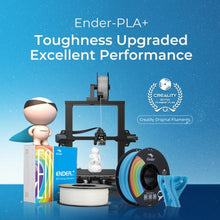
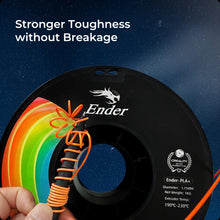
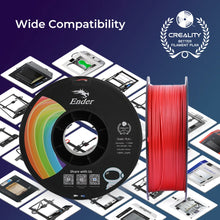
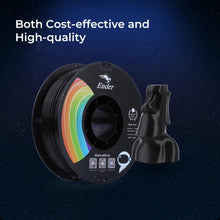
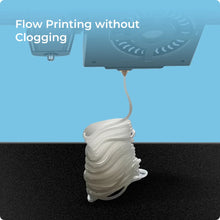
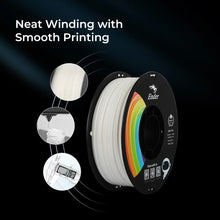
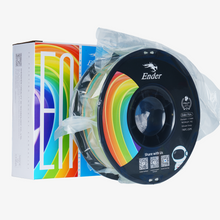
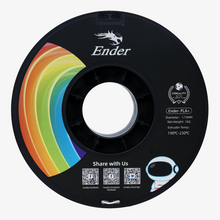
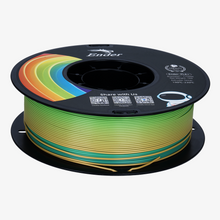
Creality Ender 1.75mm PLA+ 3D Printing Filament 1KG
- Regular price
- A$44.99
- Sale price
- A$44.99
- Regular price
-
- Unit price
- /per
© Local AU Warehouse-Fast Shipping Within 3-7 Bussiness Days
© One Year Hassle-Free Warranty & 14-Day Return Service
© 100% Secure Checkout & Lifetime Customer Support
Adding product to your cart


Great units and a must have for your printer
What will be the time shipping for this article to France ?
My original review was low as it was not working properly, however after putting some work into it, I got it to work perfectly. Easy to install, a bit time consuming to nail down the z-axis, however when working, it's a very great help! I never have to level my bed anymore for prints, which saves me a lot of time. I would definitely recommend this product for anyone with a CR-10 V2!
Our first time owning a 3D printer, we purchased the CR-10 V2 w/ BLTouch accessory after thorough research on multiple brands, reviews, and forums. After 2+ weeks of experimenting daily with the CR-10 V2, the print quality has been very good. We are happy with the overall construction and hardware quality. The instructions are lacking, but there are numerous online videos available to help navigate setup, maintenance, and printing. General setup requires a learning curve, but has become more intuitive after each print. The biggest issue we experience is the models do not stick well to the heated bed plate. We have had numerous models ruined mid-print by sliding on the surface. This is frustrating with some prints running 12+ hours. We've tried glue sticks, tape, and adjusting bed and nozzle temperatures, but haven't found a consistent solution. Overall, it is a solid printer we are still getting used to after a few weeks.
Important, I want to help everyone I can with this. Let me save you any trouble that others might be having. G29 and M420 S1. These are gcode bits you need to know when using a BLTouch. Nobody mentions this in any video or writeup I've seen and without them you will feel hopeless. Now let me explain. Watch Creality's install video and follow it step by step. However, once you get to the part for setting your Z offset, rather than eyeball it like the video, use a piece of paper like you would with manual leveling to ensure you have it right. Now once you have it all done and ready you NEED to add some g code additions to your slicer. After your slicer does a G28 for homing you need to either add a G29 (this tells it to do bed leveling) or M420 S1 (this tells it to use the saved bed leveling info. Use this so you don't have to wait for the bed leveling with every print). If you do not have one of these codes in your g code the printer WILL NOT use the auto bed leveling and youll be playing hell if you have a warped bed. Now as for a review bit. This works absolutely amazing! It's a must have, and makes the printer a joy to work with. Buy one immediately!


